Are you using OptinMonster and wondering how to use smart tags with it? Well, in this post, I am going to show you how to use smart tags in OptinMonster.
In this very competitive world, you need to use smart techniques to make things easier. Smart tags come in very handy to make some things easier on your website. Before we jump to learn how to use smart tags in OptinMonster, I would like to tell you more about smart tags.
What is Smart Tags?
A Smart Tag is a short combination of code that you can use to insert relevant information to your form notification settings or as field default values. Smart Tags use curly brackets and look something like this:
{smart_tag}
For instances, a popular used Smart Tag is {admin_email}, which is the default Smart Tag used in the Send To Email Address field. It automatically fills in the email address of the site administrator.
You can use Smart Tags when configuring notification settings, setting up field options in the form builder, or adding a form description to your website. It definitely makes your work easier.
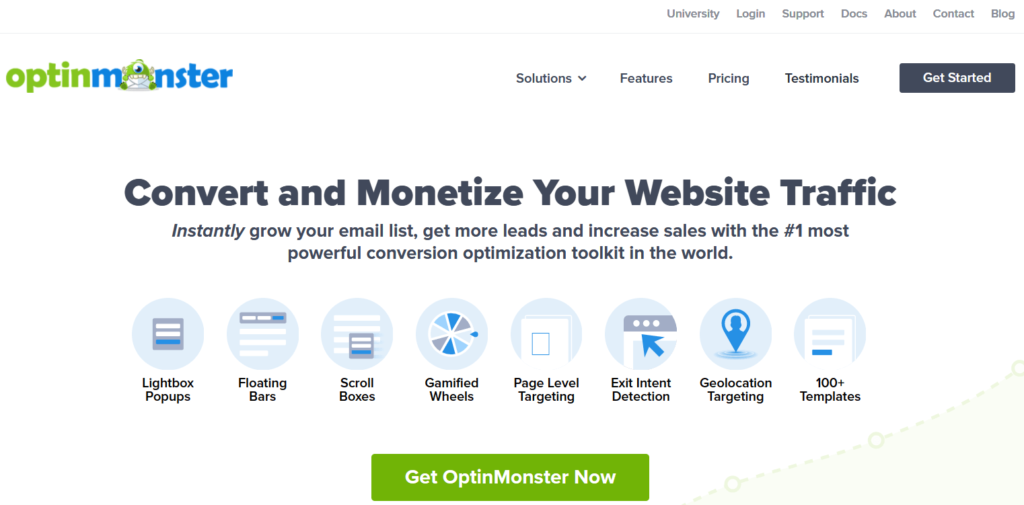
What is OptinMonster?
OptinMonster is a premium email opt-in form plugin that is founded in 2013. It has managed to differentiate itself from the competition by offering a user-friendly interface, a selection of clean and attractive designs for its opt-in forms, and a new feature that wasn’t widely available at the time: Exit intent.
When you enable exit intent in your website, popup forms are only triggered when a visitor is about to leave the site — something that quickly helped win the plugin plaudits from users and reviewers alike (especially those averse to bombarding visitors with popups on each page load).
- Some of the ideal features this opt-in form plugin included:
- Lightbox, footer bar, and slide-in forms
- Multiple form design templates
- The option to add custom HTML and CSS to forms
- The ability to create unlimited forms for different posts on your site
- Impression and conversion stats for each form
- Ability to clone forms for instant A/B testing
- exit intent to only show popups as visitors are about to leave
- Easy Integration with all major email marketing services
- Easy and user-friendly native WordPress user interface.
Currently, OptinMonster is used by over 1 million websites and has been responsible for more than 217 million conversions.
It also provides most popular features like Exit-Intent Technology, fullscreen welcome mat, lightbox popup, floating bars, monsterLinks 2-step optins, mobile optin-forms, and more. These features can easily grow your email list and increase sales and conversions. No other plugins offer these features before.
OptinMonster Pricing
OptinMonster has 4 different pricing plans. You can any of these plan as per your requirements:
- The Basic plan starts at $9 a month. On this plan, you can use the software on a single site and are limited to 3,500 pageviews.
- The Plus plan is $19 a month and it adds features like split testing, Attention Activation, and more integrations. You can also use it on 2 sites and has a 15,000 page view limit.
- The Pro plan is $29 a month and you get more features like Exit intent, Monster Links, and Multi-step opt-in forms. This has a 3 site and 50,000 page view limit.
- Last Plan is the growth plan. It is $49 per month plan. It gives you every feature that OptinMonster has to offer and you can use it on 5 sites with up to 250,000 page views.
OptinMonster also offers yearly pricing, for an additional discount. And it also comes with a 14-day money-back guarantee.
Also Read:- How To Boost Conversions with Exit- Intent Popups
How to Use Smart Tags in OptinMonster?
OptinMonster has really simplified everything to show customized text in your campaigns using Smart Tags feature. Personalize your onsite marketing campaigns with dynamic smart content to easily boost your engagement and conversions.
You can easily use Smart Tags in OptinMonster in just few simple steps. Let’s get started:
Step 1. Create your campaign First.
To use the Smart tags you need to create a campaign first. You can create any campaigns like Optin Forms etc. Now add or edit a text element in the campaign builder.
Step2. Choose a predefined Smart Tag
Now you have to choose a predefined smart tag for your campaign. Let’s say, Select the { } curly braces button to show name, date, first or last name. Now, define the default value you’d like to use for the Smart Tag in case the tag cannot find the necessary information.
All Smart Tag must start with two opening curly braces and end with two closing curly braces. This allows us to determine which content should be replaced inside of your campaign.
The first value should be either a predefined smart tag or the name of a custom variable you have defined.
{{SMART_TAG_NAME}}
Step3. Verify your Smart Tag
When you are done with your campaign and set the smart tags now click the save button. When you publish your campaign it will be live on your website and your smart tag will be replaced with the dynamic value.
Over to you
Smart tags are a revolutionary way to keep things more organized and save your time and money too. If you haven’t used smart tags on your website then you should use them. OptinMonser is a great tool that helps you to get more email leads through professionally designed Optin Forms.
I hope you have found this post helpful as it gives you a clear idea about how to use smart tags in OptinMonster. Don’t forget to share the post on your social networks. Ask any questions in comment section below.